
nikon d7100 instruction manual
Nikon D7100 Instruction Manual: A Comprehensive Guide
This manual details the Nikon D7100’s features, offering guidance on setup, shooting, and advanced functions․
It addresses potential issues like display failures and autofocus performance with various lenses, ensuring optimal use․
Welcome to the world of the Nikon D7100, a powerful and versatile DSLR designed for both enthusiasts and professionals․ This camera builds upon Nikon’s legacy of imaging excellence, offering a compelling blend of high resolution, speed, and advanced features․ This manual serves as your comprehensive guide to unlocking the full potential of your D7100․
Recent discussions highlight common user experiences, from initial setup challenges – like battery and memory card insertion – to troubleshooting unexpected issues, such as a non-illuminating display after a period of inactivity․ Concerns regarding autofocus performance with older Nikon Micro lenses, particularly when using extension tubes (like the PK-13), are also addressed․ Understanding these potential hurdles upfront will streamline your learning process․
Whether you’re a seasoned photographer or new to DSLR photography, this guide will walk you through every aspect of the D7100, from basic operation to advanced techniques․ We’ll cover everything from choosing the right shooting mode to mastering exposure and exploring the camera’s extensive menu system․ Prepare to capture stunning images and videos with your Nikon D7100!
Key Features and Specifications
The Nikon D7100 boasts a 24․1-megapixel DX-format CMOS sensor, delivering exceptional image quality and detail․ It features a 51-point autofocus system, ensuring accurate and reliable subject tracking, even in challenging conditions․ Continuous shooting at up to 6 frames per second allows you to capture fast-action sequences with ease․
User feedback indicates a desire for high-resolution capabilities, reminiscent of models like the D810 (36 megapixels), particularly for landscape photography․ However, concerns have surfaced regarding autofocus performance with older Nikon Micro lenses and extension tubes, specifically noting difficulties tracking moving subjects at a distance․
Key specifications include a 3․2-inch tilting LCD screen, full 1080p HD video recording, and built-in Wi-Fi connectivity for seamless image sharing․ The D7100’s robust construction and extensive feature set make it a versatile tool for a wide range of photographic applications․ Understanding these features is crucial for maximizing your photographic potential․

Understanding the Camera Body
Familiarizing yourself with the D7100’s layout – front, rear, top, and bottom panels – is essential․ Knowing button and port locations streamlines operation and enhances control․
Front Panel Overview
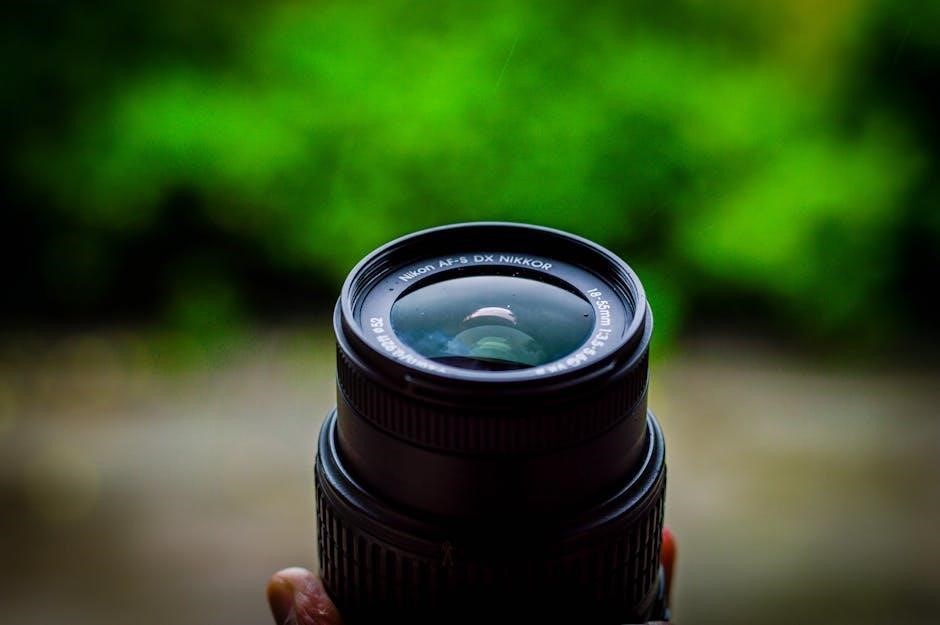
The Nikon D7100’s front panel houses several key components crucial for operation․ Primarily, you’ll find the lens mount, accepting Nikon F-mount lenses, enabling a vast range of optical choices․ Adjacent to the mount is the autofocus-assist illuminator, aiding low-light focusing․
The function button, customizable for quick access to frequently used settings, is conveniently located․ Below, the microphone jack allows for external audio recording, enhancing video capabilities․ The depth-of-field preview button simulates the aperture’s effect on image depth․
Notably, the infrared receiver for the remote control is positioned here, facilitating wireless shutter release․ The self-timer lamp indicates self-timer activation․ Understanding these elements allows for efficient control and a smoother shooting experience, especially when adapting to different shooting scenarios and lens combinations, as discussed regarding extension tubes․
Rear Panel Overview
The Nikon D7100’s rear panel is densely populated with controls for comprehensive camera operation․ Dominating the view is the large 3․2-inch LCD screen, offering bright and clear image review and menu navigation․ To the right of the screen, a directional pad with a central selector button facilitates menu traversal and setting adjustments․
Dedicated buttons provide quick access to key functions like white balance, picture control, and live view․ The ‘i’ button customizes quick settings for immediate adjustments․ The autofocus mode selector allows switching between single-servo (AF-S) and continuous-servo (AF-C) modes․
The video record button initiates video capture, while the playback button reviews captured images․ The menu button accesses the camera’s extensive menu system․ The diopter adjustment dial corrects viewfinder focus․ Understanding these controls is vital, especially when troubleshooting issues like a non-responsive display, as reported by some users․
Top Panel Overview
The Nikon D7100’s top panel houses essential controls for immediate shooting adjustments․ Centrally located is the mode dial, allowing selection of Auto, Program, Aperture-priority, Shutter-priority, and Manual modes․ A dedicated button accesses the depth-of-field preview, useful for visualizing aperture effects․ The shutter release button, coupled with the electronic front-curtain shutter option, minimizes vibration․
To the left, the exposure compensation dial quickly adjusts brightness․ The ISO sensitivity button, paired with a control dial, modifies sensor sensitivity․ The BKT button enables bracketing for capturing multiple exposures․
The pop-up flash release button activates the built-in flash, offering supplemental illumination․ Understanding these controls is crucial, particularly when addressing potential issues like autofocus inconsistencies reported with certain lenses, ensuring optimal performance in various shooting scenarios․ The panel’s layout promotes efficient operation․
Bottom Panel Overview
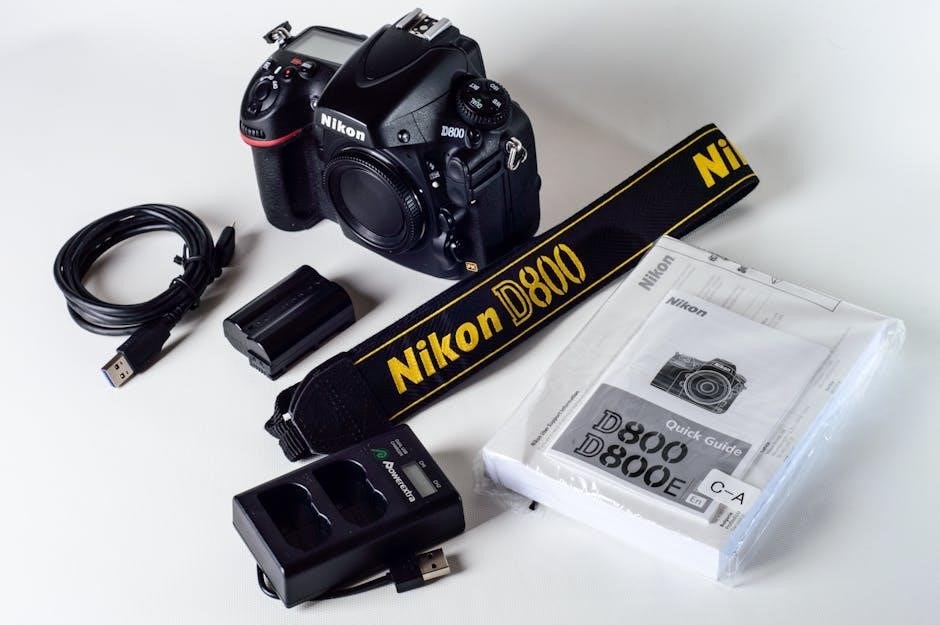
The Nikon D7100’s bottom panel primarily focuses on power and storage access․ A prominent battery compartment cover secures the EN-EL15 battery, crucial for operation, and addresses concerns about potential power failures like the reported display issue․ Adjacent to the battery compartment is the memory card slot, compatible with SD cards for image storage․
A dedicated compartment houses the connections for optional accessories․ This includes a port for remote shutter release, enhancing stability during long exposures․ The tripod socket is centrally located for balanced mounting, vital for landscape photography and minimizing camera shake․
The panel’s design prioritizes secure access to essential components․ Understanding the battery compartment and card slot is key, especially considering reports of unexpected camera shutdowns․ Proper battery care and card handling are essential for reliable performance, mirroring the need for correctly attaching extension tubes like the PK-13․

Setting Up Your D7100
Initial setup involves battery and SD card insertion, followed by configuring language, date, and time․ Selecting a shooting mode—Auto, P, S, A, or M—is fundamental;
Inserting the Battery and Memory Card
Powering your Nikon D7100 begins with correctly inserting the battery․ Locate the battery compartment on the camera’s bottom panel․ Gently slide the battery latch to unlock and open the compartment․ Insert the EN-EL15 battery, ensuring the contacts align properly, and push it in until it clicks․ Securely close the compartment by sliding the latch back into its locked position․
Next, insert a compatible SD memory card․ The card slot is typically found alongside the battery compartment․ Open the card slot cover․ Insert the SD card, label-side up, into the slot until it clicks․ Gently push it in further until it locks into place․ To remove the card, gently press it in once to release it, then pull it out․
Always use Nikon-approved batteries and SD cards to ensure optimal performance and prevent potential damage to your camera․ Verify the battery is fully charged before initial use for uninterrupted shooting․
Initial Camera Setup (Language, Date, Time)
Upon powering on your Nikon D7100 for the first time, a setup screen will appear․ Begin by selecting your preferred language from the displayed list using the multi-selector and pressing the OK button․ This ensures all menus and displays are in a language you understand․
Next, set the correct date and time․ Use the multi-selector to navigate between the year, month, and day, adjusting each value as needed․ Repeat this process for setting the hour and minute․ Accurate date and time settings are crucial for proper image file organization and metadata․
Confirm your selections after each step by pressing the OK button․ The camera will then save these settings and proceed to the next configuration option․ Taking the time to complete this initial setup ensures a personalized and efficient shooting experience․
Choosing a Shooting Mode (Auto, P, S, A, M)
The Nikon D7100 offers several shooting modes to suit various skill levels and photographic situations․ Auto mode simplifies operation, letting the camera handle all settings – ideal for beginners․ Program (P) mode allows for some control, like ISO and white balance, while the camera manages aperture and shutter speed․
For more creative control, explore Shutter-priority (S) and Aperture-priority (A) modes․ S mode lets you set the shutter speed for motion control, while A mode controls depth of field via aperture․ These are excellent for learning exposure relationships․
Manual (M) mode provides full control over both aperture and shutter speed․ This is best for experienced photographers who want complete creative authority․ Experiment with each mode to understand how they impact your images and find what best suits your style․
Mastering Shooting Techniques
Unlock the D7100’s potential by understanding exposure, focusing, metering, and white balance․ These core skills, combined with lens considerations, yield stunning results․
Understanding Exposure: Aperture, Shutter Speed, ISO
Exposure is the cornerstone of photography, and the Nikon D7100 provides extensive control over its three key elements: aperture, shutter speed, and ISO․ Aperture, measured in f-stops (e․g․, f/2․8, f/8), controls the lens opening, influencing depth of field – the area in focus․ A wider aperture (lower f-number) creates a shallow depth of field, ideal for portraits, while a narrower aperture (higher f-number) yields greater depth of field, suitable for landscapes․
Shutter speed, measured in seconds or fractions of a second (e․g․, 1/200s, 1s), determines how long the camera’s sensor is exposed to light․ Faster shutter speeds freeze motion, while slower shutter speeds allow more light in, but can result in motion blur․ ISO, representing the sensor’s sensitivity to light, impacts image noise․ Lower ISO values (e․g․, ISO 100) produce cleaner images, but require more light, while higher ISO values (e․g․, ISO 3200) are useful in low-light situations, but introduce more noise․ Mastering the interplay between these three settings is crucial for achieving properly exposed and creatively compelling photographs with your D7100․
Focusing Modes: Single-Servo (AF-S), Continuous-Servo (AF-C)
The Nikon D7100 offers versatile autofocus (AF) modes to suit various shooting scenarios․ Single-Servo AF (AF-S), also known as AF-Single, is best for stationary subjects․ When you half-press the shutter button, the camera locks focus, and it remains fixed until you release the button or recompose the shot․ This mode is ideal for landscapes, portraits, and situations where the subject isn’t moving․
Continuous-Servo AF (AF-C), or AF-Continuous, is designed for tracking moving subjects․ The camera continuously adjusts focus as long as you half-press the shutter button, ensuring the subject remains sharp even as it changes position․ This mode excels in sports, wildlife, and action photography․ Understanding when to utilize each mode, alongside the D7100’s focus points, is key to capturing sharp, in-focus images consistently․ Experimenting with both AF-S and AF-C will help you determine the best setting for your specific photographic needs․
Metering Modes: Matrix, Center-Weighted, Spot
The Nikon D7100 provides three primary metering modes to accurately measure light and determine exposure: Matrix, Center-weighted, and Spot․ Matrix metering is the default and most versatile, analyzing the entire frame to calculate an average exposure․ It’s suitable for most general shooting situations, offering balanced results․ Center-weighted metering prioritizes the center of the frame, giving it more influence on the exposure calculation․ This is useful when your subject is centrally located and you want to ensure it’s properly exposed․
Spot metering measures light from a very small area of the frame, allowing for precise exposure control in challenging lighting conditions․ It’s ideal for subjects with strong backlighting or high contrast․ Selecting the appropriate metering mode depends on the scene and your desired outcome․ Understanding how each mode interprets light will significantly improve your exposure accuracy and image quality․ Experimentation is encouraged to master these settings․
White Balance Settings: Auto, Presets, Custom
Achieving accurate colors is crucial, and the Nikon D7100 offers comprehensive white balance control․ Auto White Balance (AWB) is convenient for general shooting, automatically adjusting to the color temperature of the light source․ However, it isn’t always perfect․ The D7100 also provides several presets, including Daylight, Cloudy, Shade, Tungsten, and Fluorescent, allowing you to quickly select a setting appropriate for common lighting conditions․
For more precise control, utilize the Custom White Balance feature․ This involves photographing a white or gray card under the existing lighting and using that image to set a custom white balance․ This ensures accurate color rendition, especially in challenging or mixed lighting environments․ Incorrect white balance can result in color casts, so understanding and utilizing these settings is vital for professional-looking images․ Experiment to find what works best for your style․

Exploring Advanced Features
Dive into the D7100’s capabilities, including Live View with focus peaking, built-in flash options, Picture Control settings, and impressive video recording functionality․
Live View Shooting and Focus Peaking
The Nikon D7100’s Live View mode allows composing and shooting images using the rear LCD screen, offering a different perspective compared to the optical viewfinder․ To activate Live View, simply switch the shooting mode dial to Live View․ This is particularly useful for precise composition, especially when using a tripod, or when shooting from awkward angles․
Focus Peaking is an invaluable tool within Live View, visually highlighting areas of sharp focus with a colored outline (typically red or blue, customizable in the menu)․ This feature is exceptionally helpful when manually focusing lenses, ensuring critical sharpness․ It’s especially beneficial with older lenses or when precise focus is paramount, like in macro photography․ The D7100 allows you to adjust the peaking sensitivity to suit your needs and shooting conditions․ Remember to check the menu settings to enable and customize focus peaking for optimal performance․ Utilizing these features together enhances accuracy and control over your images․
Using the Built-in Flash
The Nikon D7100 features a built-in flash, a convenient tool for illuminating scenes in low-light conditions or adding fill-light to overcome harsh shadows․ To activate the flash, press the flash button on the camera’s back panel until the flash icon appears in the viewfinder or on the LCD screen․ Several flash modes are available, including Auto, Auto with Red-Eye Reduction, Fill-Flash, Slow Sync, and Rear-Curtain Sync․
Auto mode lets the camera determine when flash is needed, while Fill-Flash fires the flash regardless of ambient light, useful for balancing exposure․ Slow Sync combines the flash with a slower shutter speed, capturing more ambient light and creating a more natural look․ Experiment with these modes to achieve the desired effect․ Be mindful of the flash’s range and potential for red-eye․ Consider using a diffuser to soften the flash’s light and improve image quality․ The D7100 also supports external flashes for more advanced lighting control․
Understanding Picture Control Settings
Nikon’s Picture Control settings allow you to customize the look of your images directly within the camera, influencing factors like sharpness, contrast, brightness, saturation, and hue․ The D7100 offers several preset Picture Controls: Standard, Neutral, Vivid, Monochrome, Portrait, Landscape, and Flat․ Standard is a versatile all-purpose setting, while Vivid boosts colors for a punchy look․ Landscape enhances blues and greens for scenic shots, and Portrait softens skin tones;
You can further refine these presets or create custom Picture Controls to match your personal preferences․ Access Picture Control settings through the camera’s menu․ Adjust individual parameters to fine-tune the image’s appearance․ Saving custom settings allows for consistent results across different shooting scenarios․ Experimenting with Picture Controls is a great way to develop your photographic style without extensive post-processing․
Shooting Video with the D7100
The Nikon D7100 is capable of recording Full HD 1080p video at frame rates of 24, 25, 30, 50, and 60 fps․ To initiate video recording, switch the mode dial to the movie mode․ The camera offers various video settings, including exposure control, autofocus, and audio adjustments․ Utilizing external microphones via the microphone jack significantly improves audio quality․
Focusing during video recording can be achieved using autofocus or manual focus․ Autofocus performance may vary depending on the lens and subject movement․ Consider using manual focus for precise control, especially in challenging situations․ The D7100 also supports ‘exposure compensation’ during video recording, allowing you to adjust brightness on the fly․ Remember to use a fast memory card to ensure smooth recording and prevent dropped frames․

Navigating the Menu System
The D7100’s menu offers extensive customization options․ Understanding setup adjustments, image review, and deletion processes is crucial for efficient camera operation and workflow management․
Customizing Menu Settings
The Nikon D7100’s menu system allows for deep personalization, tailoring the camera to your specific shooting style․ Within the ‘Custom Setting’ menu, you’ll find options to adjust autofocus behavior, metering preferences, and image quality settings․ Explore the ‘My Menu’ feature to create a personalized shortcut to frequently used settings, streamlining your workflow․
Consider customizing button assignments for quicker access to essential functions․ The ‘Info Display’ settings let you choose what information is displayed in the viewfinder and on the LCD screen․ Fine-tune the ‘Setup’ menu to manage language, date/time, and file naming conventions․ Remember to reset settings to defaults if you encounter unexpected behavior, and back up your custom settings to a memory card for safekeeping․ Experimenting with these options unlocks the D7100’s full potential, adapting it perfectly to your photographic needs․ Don’t hesitate to consult the full manual for detailed explanations of each setting․
Understanding the Setup Menu
The Nikon D7100’s Setup menu is your central hub for configuring fundamental camera operations․ Here, you’ll manage essential settings like language selection, date and time adjustments, and file naming conventions․ Crucially, this menu controls display brightness, LCD color settings, and viewfinder adjustments for optimal visibility․
Pay close attention to the ‘HDMI’ output settings if connecting to an external monitor․ The ‘USB Connection’ options dictate how the camera interacts with your computer․ You can also format memory cards and reset custom settings to factory defaults within this menu․ Regularly check the ‘Firmware Version’ to ensure your camera has the latest updates for improved performance and bug fixes․ Understanding these settings ensures a smooth and personalized shooting experience, addressing potential issues like display malfunctions or data transfer problems․ Refer to the full manual for detailed explanations of each option․
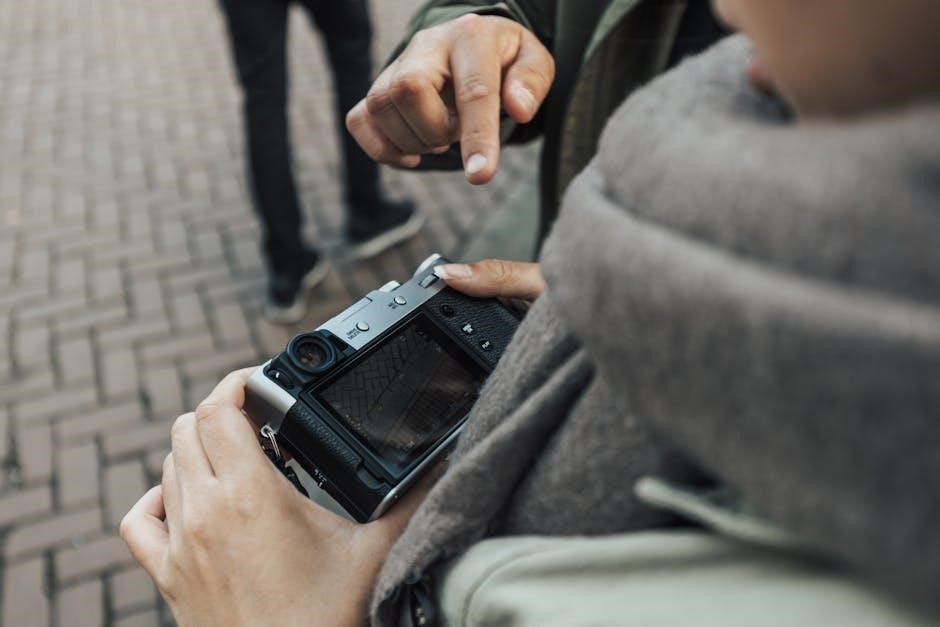
Reviewing and Deleting Images
The Nikon D7100 offers several methods for reviewing captured images․ Press the playback button to enter review mode, utilizing the directional pad to navigate through your photos and videos․ Zoom functionality allows for detailed inspection of focus and clarity․ You can protect important images from accidental deletion by using the protect function, preventing them from being overwritten․
Deleting images is straightforward: select the image(s) and press the delete button․ Be cautious, as deleted images are typically unrecoverable! The camera offers options for deleting all images or selecting specific ones․ Regularly reviewing and deleting unwanted photos frees up valuable memory card space․ Addressing potential issues, ensure the memory card isn’t write-protected before attempting deletion․ Remember to back up your images to a computer or external storage device for safekeeping, preventing data loss․
Maintenance and Troubleshooting

Proper care extends the D7100’s lifespan․ Clean the sensor carefully, manage battery health, and address common issues like display failures or autofocus inaccuracies promptly․
Cleaning the Sensor
Maintaining a clean sensor is crucial for image quality with your Nikon D7100․ Dust particles can appear as spots in your photos, especially at smaller apertures․ Nikon recommends using a blower to remove loose dust first․ Avoid touching the sensor directly with anything․
If blowing doesn’t suffice, utilize a sensor cleaning kit specifically designed for DSLRs․ These kits typically include sensor swabs and cleaning fluid․ Follow the kit’s instructions meticulously․ Gently swipe the sensor in a single, smooth motion, avoiding excessive pressure․
Important Considerations: Always ensure the camera is fully charged or has a fresh battery before initiating sensor cleaning․ Work in a clean, dust-free environment․ If you’re uncomfortable performing this task yourself, consider professional sensor cleaning services․ Improper cleaning can damage the sensor․ Regularly check for dust using the camera’s sensor cleaning function or by taking a test shot at a small aperture (e․g․, f/16) against a bright, evenly lit surface․
Battery Care and Charging
Proper battery care maximizes the lifespan and performance of your Nikon D7100’s EN-EL15 battery․ Always use the supplied MH-25a charger or a compatible Nikon replacement․ Avoid using third-party chargers, as they may damage the battery or camera․
Fully charge the battery before its first use․ During charging, the charger’s indicator light will blink; it will turn solid when complete․ Do not interrupt the charging process․ Store batteries in a cool, dry place, away from direct sunlight and extreme temperatures․
Important Considerations: Avoid completely discharging the battery, as this can shorten its lifespan․ If storing the camera for extended periods, remove the battery․ Periodically charge and discharge the battery even when not in use to maintain its capacity․ Do not short-circuit the battery terminals․ Dispose of used batteries responsibly according to local regulations․
Common Troubleshooting Issues and Solutions
Encountering issues? Here’s a guide to common Nikon D7100 problems and their solutions․ If the display doesn’t illuminate, ensure the battery is fully charged and properly inserted․ Check the power switch position․ Autofocus problems, particularly with older lenses (like Nikon Micro lenses), may require careful focusing technique or lens calibration․
If the camera freezes, try removing and reinserting the battery․ Exposure issues with extension tubes (like the PK-13) can occur; ensure proper insertion and check for compatibility․ For lens performance concerns, verify lens compatibility and consider professional lens calibration․
Further Assistance: If problems persist, consult the Nikon support website or contact a qualified repair technician․ Avoid attempting complex repairs yourself․ Remember to check for firmware updates, as these often address known issues and improve camera performance․ Always back up your images regularly to prevent data loss․
Related Posts

how to compact soil manually
Ready to master manual soil compaction? Our comprehensive guides provide step-by-step instructions and expert tips for creating a firm, stable base for any project. Download your PDF manual and build with confidence!
nikon n80 camera manual
Lost your Nikon N80 camera manual? Find a clear, downloadable PDF guide right here! Get back to taking amazing photos fast. Troubleshooting & tips included!

quality manual template
Need a polished quality manual? Grab our free, customizable templates! Streamline your processes & impress. Download now at GuidePlanetPDF – it’s a game changer! ✨