nikon d610 manual english
Nikon D610 Manual: A Comprehensive Guide (English)
Welcome! This detailed guide assists you in mastering your Nikon D610, offering in-depth understanding and precise control over its powerful features.
The Nikon D610 is a full-frame DSLR celebrated for its exceptional image quality and robust performance. This manual serves as your comprehensive companion, unlocking the camera’s potential. Whether you’re a seasoned photographer or just beginning, this guide will empower you to confidently navigate its features.
We’ll explore everything from initial setup to advanced customization, ensuring you masterfully control your D610. Prepare to delve into a world of photographic possibilities!
Unboxing and Initial Setup
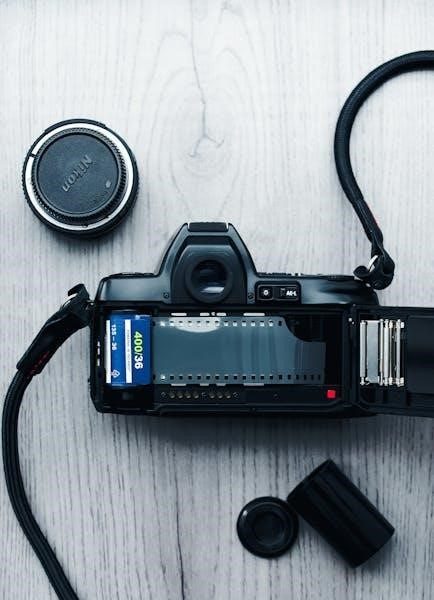
Carefully unpack your Nikon D610, verifying all included accessories: body, battery, charger, strap, and documentation. Insert the battery and charge it fully before first use. Install the memory card – SD cards are compatible. Connect the camera to a computer via USB if prompted to update firmware.
Set the language, date, and time. Finally, attach your desired lens, and you’re ready to begin exploring the world of full-frame photography!
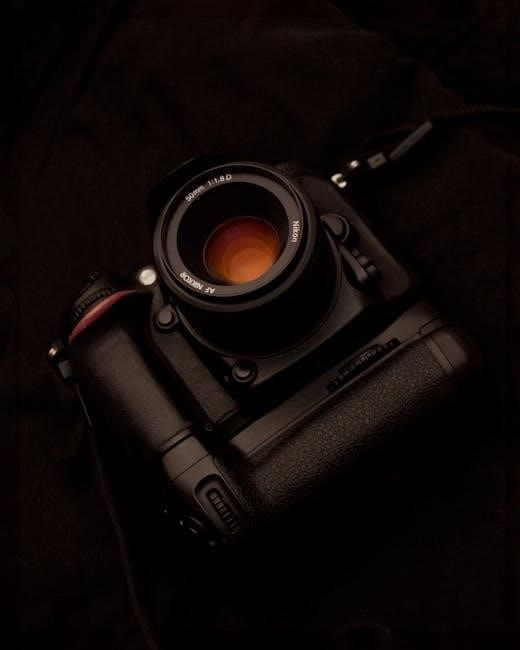
Understanding the Camera Body & Controls
The Nikon D610 boasts a robust build and intuitive layout. Familiarize yourself with the grip, ensuring a comfortable and secure hold. Locate the shutter button, mode dial, and control dials for aperture and shutter speed. The rear panel houses the LCD screen, directional pad, and menu buttons.
Understanding these core elements is crucial for seamless operation and unlocking the camera’s full potential.
Front and Rear Panel Overview
The front panel features the lens mount, autofocus-assist illuminator, and depth-of-field preview button. The rear panel displays the LCD screen, diopter adjustment, and playback controls. You’ll also find the directional pad, menu, info, and live view buttons.
These controls facilitate image review, menu navigation, and essential camera settings adjustments for optimal shooting experiences.
Top Panel Controls and Functions
The top panel houses the main dial for shooting mode selection, the command dial for adjusting settings like aperture and shutter speed, and the shutter release button. Additionally, you’ll find the on/off switch, exposure compensation button, and a dedicated video record button.
These controls provide quick access to frequently used functions, enabling efficient operation during shooting.
Menu System Navigation
Navigating the Nikon D610’s menu is crucial for customizing camera settings. Access the menu via the ‘Menu’ button, utilizing the directional pad to scroll through categories. The ‘OK’ button confirms selections, while the ‘?’ button provides helpful on-screen assistance.
Familiarize yourself with the layout for efficient adjustments.
Customizing the Menu for Efficient Use
Personalize your D610’s menu by utilizing the ‘My Menu’ bank. This allows quick access to frequently used settings, streamlining your workflow. Reorder menu items to prioritize essential functions, reducing navigation time during shoots. Consider creating custom menu sets for different shooting scenarios – landscapes, portraits, or action – for instant recall.
Understanding Menu Categories (Shooting, Setup, Custom Settings)
The Nikon D610 menu is logically organized. The ‘Shooting’ menu controls image capture settings like quality, ISO, and release mode. ‘Setup’ manages camera configurations – display, buttons, and connectivity. ‘Custom Settings’ allows personalized function assignments, tailoring the camera to your shooting style. Familiarize yourself with each category to efficiently adjust settings for optimal results.
Shooting Modes Explained
The D610 offers versatile shooting modes. ‘Auto’ simplifies operation for beginners, while ‘Scene’ modes optimize settings for specific situations. For creative control, explore ‘Aperture Priority’ (adjusts depth of field), ‘Shutter Priority’ (controls motion blur), and ‘Manual’ (full control over both). Understanding these modes unlocks your photographic potential, allowing you to capture images precisely as envisioned.
Auto Modes (Auto, Scene)
Auto mode is perfect for effortless shooting, letting the camera handle all settings. Scene modes, like Portrait, Landscape, and Sports, pre-configure optimal settings for common scenarios. These modes simplify photography, ensuring good results without manual adjustments. While convenient, remember that exploring manual controls offers greater creative freedom and image quality.
Advanced Shooting Modes (Aperture Priority, Shutter Priority, Manual)
Aperture Priority (A) lets you control depth of field, while the camera sets shutter speed. Shutter Priority (S) allows control over motion blur, with the camera adjusting aperture. Manual (M) grants full control over both aperture and shutter speed for ultimate creative expression. Mastering these modes unlocks your photographic potential, offering precise control over every aspect of the image.
Focusing System – Mastering Autofocus
The Nikon D610’s autofocus system is crucial for sharp images. Understanding its capabilities is key. Explore AF-S for stationary subjects, AF-C for tracking moving subjects, and AF-A for automatic mode selection. Experiment with Single-point AF for precision, Dynamic-area AF for tracking, and Auto-area AF for general use. Proper focus selection dramatically improves image quality and creative control.
Autofocus Modes (AF-S, AF-C, AF-A)
AF-S (Single) is ideal for still subjects, locking focus when the shutter button is half-pressed. AF-C (Continuous) continuously adjusts focus while the button is held, perfect for moving subjects. AF-A (Automatic) intelligently switches between AF-S and AF-C based on subject movement. Choosing the correct mode ensures consistently sharp results, adapting to diverse shooting scenarios and maximizing image clarity.
Focus Area Modes (Single-point, Dynamic-area, Auto-area)
Single-point AF allows precise focus selection on a chosen point. Dynamic-area AF uses surrounding points if the initial point loses the subject, tracking movement. Auto-area AF lets the camera automatically select focus points, suitable for general photography. Selecting the appropriate mode enhances accuracy, ensuring your intended subject remains sharply defined, even during unpredictable movements.
Exposure Control – Achieving Proper Lighting
Exposure is crucial for well-lit images. It’s a balance between aperture (lens opening), shutter speed (exposure duration), and ISO (sensor sensitivity). Wider apertures (lower f-number) create shallow depth of field. Faster shutter speeds freeze motion. Higher ISOs brighten images in low light, but can introduce noise. Mastering these settings allows you to control brightness and creative effects.
Aperture, Shutter Speed, and ISO Relationship
Aperture controls light and depth of field; shutter speed dictates motion blur or freezing; ISO adjusts sensor sensitivity. They’re interconnected – changing one impacts the others. Increasing ISO allows for faster shutter speeds or smaller apertures in low light. A wider aperture needs a faster shutter speed to avoid overexposure. Understanding this ‘exposure triangle’ is key to achieving properly exposed, creative photographs.
Exposure Compensation Techniques
Exposure compensation overrides the camera’s meter, brightening or darkening images. Use positive compensation (+EV) for brighter scenes like snow, preventing underexposure. Employ negative compensation (-EV) for dark subjects, avoiding overexposure. The D610’s dial allows quick adjustments. Regularly review your histogram to confirm proper exposure and refine your technique. Mastering this ensures accurate results in challenging lighting conditions.
Image Quality Settings
Image quality profoundly impacts detail and editing flexibility. Choose RAW for maximum data, ideal for post-processing, offering extensive control. JPEG provides smaller file sizes, suitable for immediate use, but with limited editing potential. Adjust white balance to accurately represent colors under different lighting. Experiment with settings to balance file size, quality, and workflow needs for optimal results with your Nikon D610.
RAW vs. JPEG – Choosing the Right Format
RAW files capture all image data, offering unparalleled editing latitude for exposure, white balance, and detail recovery – essential for professional workflows. JPEG files are compressed, resulting in smaller sizes but sacrificing data and flexibility. Select RAW for critical shots needing extensive editing, and JPEG for quick sharing or when storage space is limited. Consider your post-processing needs when choosing the ideal format on your Nikon D610.
White Balance Adjustment for Accurate Colors
White balance ensures accurate color rendition under different lighting conditions. The Nikon D610 offers presets like Daylight, Cloudy, and Tungsten, alongside a Custom setting for precise control. Incorrect white balance results in color casts – warm (yellowish) or cool (bluish). Utilize Auto White Balance for convenience, but for critical shots, manually adjust for optimal color accuracy. Experiment to achieve natural-looking images, reflecting the scene’s true tones.
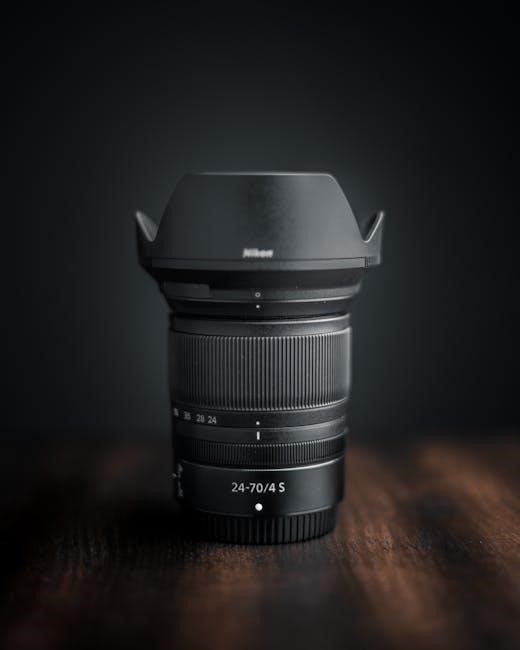
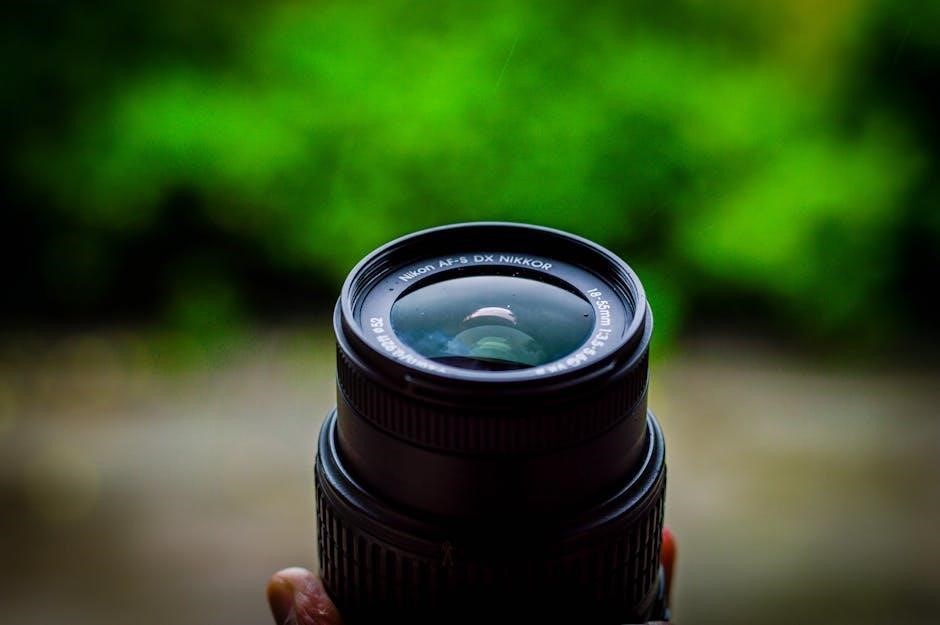
Working with Lenses – NIKKOR Compatibility
NIKKOR lenses are designed for optimal performance with Nikon cameras like the D610. Understanding lens specifications – focal length, aperture, and image format compatibility – is crucial. The D610 utilizes a Nikon F mount, ensuring secure lens attachment. Gently align the lens markings, rotate, and lock it into place. Always use compatible lenses to avoid damage and maximize image quality. Explore the vast NIKKOR range for diverse photographic needs.
Understanding Lens Specifications
Lens specifications are vital for informed choices. Focal length determines the angle of view – wider for landscapes, longer for distant subjects. Aperture (f-stop) controls light intake and depth of field. Lower f-numbers mean shallower depth. Image format compatibility (FX, DX) ensures full sensor utilization. Understanding these specs allows you to select the ideal NIKKOR lens for your photographic vision and the D610’s capabilities.
Lens Mount and Attachment Procedures
Attaching a NIKKOR lens to your D610 is straightforward. Align the lens’s mounting index with the camera body’s mark. Gently push and rotate the lens clockwise until it clicks securely into place. To detach, press the lens release button on the camera body while twisting counter-clockwise. Always handle lenses with care, avoiding force, and protect the contacts from damage.
Using Live View and Video Recording

Live View on the D610 enables composing images using the rear LCD screen. For video, access the movie recording mode via the mode dial. Adjust settings like resolution, frame rate, and microphone input. Utilize autofocus during recording, but be mindful of potential noise. Ensure sufficient lighting and a stable platform for optimal video quality.
Live View Focusing and Composition
Utilizing Live View allows precise focusing and framing via the LCD. Select a focus point using the directional pad or touchscreen (if equipped). Zooming in on the display ensures critical sharpness. Composition benefits from the larger, brighter view. Experiment with focus peaking for manual focus accuracy. Remember battery consumption is higher in Live View mode.
Video Recording Settings and Considerations
Optimizing video quality requires careful settings adjustments. Select appropriate frame rates (24, 25, or 30 fps) and resolutions (1080p is standard). Utilize manual exposure for consistent brightness. Pay attention to audio levels; an external microphone is recommended. Consider using a fast SD card for smooth recording. Monitor temperature to avoid overheating during extended shoots.
Connectivity – Transferring Images
Transferring images from your Nikon D610 is straightforward. Utilize the USB port for direct connection to your computer, enabling quick file transfer. Alternatively, with an optional wireless adapter, enjoy convenient wireless image transfer to smartphones or tablets. Explore Nikon’s software options for enhanced organization and editing capabilities. Ensure proper cable connection and driver installation for seamless data transfer.
Connecting to a Computer via USB
To connect your Nikon D610 via USB, use a compatible USB cable. Power off the camera before connecting. Select “USB” in the camera’s setup menu. Your computer should recognize the D610 as a mass storage device. You can then copy images directly. Ensure you have the necessary drivers installed for optimal performance and compatibility. Safely eject the camera before disconnecting the USB cable.
Wireless Transfer Options (with optional adapter)
For wireless connectivity, the Nikon D610 requires an optional wireless adapter, such as the WT-5A. Install the adapter into the camera’s accessory terminal. Utilize Nikon’s Wireless Mobile Utility app on your smartphone or tablet to establish a connection. This allows for image transfer and remote camera control. Ensure the adapter and app are correctly configured for seamless wireless operation and efficient image sharing.
Troubleshooting Common Issues
Encountering problems? Check the LCD screen for error messages and consult the camera’s built-in help system. Common issues include card errors (ensure card is compatible and properly inserted) and autofocus malfunctions (verify AF settings and lens compatibility). Regular camera maintenance, like cleaning the sensor, prevents many issues. Refer to the full manual for detailed solutions and support resources.
Error Messages and Solutions
Decoding alerts: “Err” messages indicate problems. “Card error” needs a re-seat or replacement. “Lens not attached” confirms connection issues. “Battery low” requires charging or a fresh battery. Consult the manual’s error code list for specific fixes. Resetting the camera to factory defaults can resolve software glitches, but note settings will be lost.
Basic Camera Maintenance
Keep it clean! Regularly blow dust from the sensor using a blower – avoid touching it. Clean the exterior with a soft, dry cloth. Store the camera in a dry, dust-free environment. Inspect the lens mount for debris. Avoid extreme temperatures and humidity. Periodically check battery contacts for corrosion. Proper care ensures longevity and optimal performance.

Advanced Features & Customization
Unlock full potential! Explore Custom Function settings to tailor the D610 to your shooting style. Create User Profiles to save personalized settings for different scenarios – landscapes, portraits, or action. Dive into advanced autofocus configurations for precise tracking. Experiment with picture control adjustments for unique image rendering. These features elevate your photography.
Custom Function Settings
Personalize your D610! Custom Functions allow you to assign specific operations to buttons and controls. Modify autofocus behavior, exposure settings, and metering modes to match your preferences. Reassign controls for quicker access to frequently used features. Explore options for viewfinder display and shooting speed. These settings optimize workflow and enhance creative control.

User Profiles for Personalized Settings
Save your setups! Nikon D610 User Profiles store customized camera settings for different shooting scenarios. Create profiles for landscapes, portraits, or action photography, retaining preferred autofocus, exposure, and image quality choices. Easily switch between profiles to adapt to varying conditions. This feature eliminates repetitive menu adjustments, streamlining your workflow and ensuring consistent results;
Resources and Further Learning
Expand your knowledge! Nikon’s official website offers extensive support, including downloadable software and firmware updates for your D610. Explore online photography communities and forums dedicated to Nikon users for tips, tricks, and troubleshooting assistance. Consider workshops or online courses to deepen your understanding of photography principles and master your camera’s capabilities.
Related Posts

how to compact soil manually
Ready to master manual soil compaction? Our comprehensive guides provide step-by-step instructions and expert tips for creating a firm, stable base for any project. Download your PDF manual and build with confidence!
nikon n80 camera manual
Lost your Nikon N80 camera manual? Find a clear, downloadable PDF guide right here! Get back to taking amazing photos fast. Troubleshooting & tips included!

quality manual template
Need a polished quality manual? Grab our free, customizable templates! Streamline your processes & impress. Download now at GuidePlanetPDF – it’s a game changer! ✨